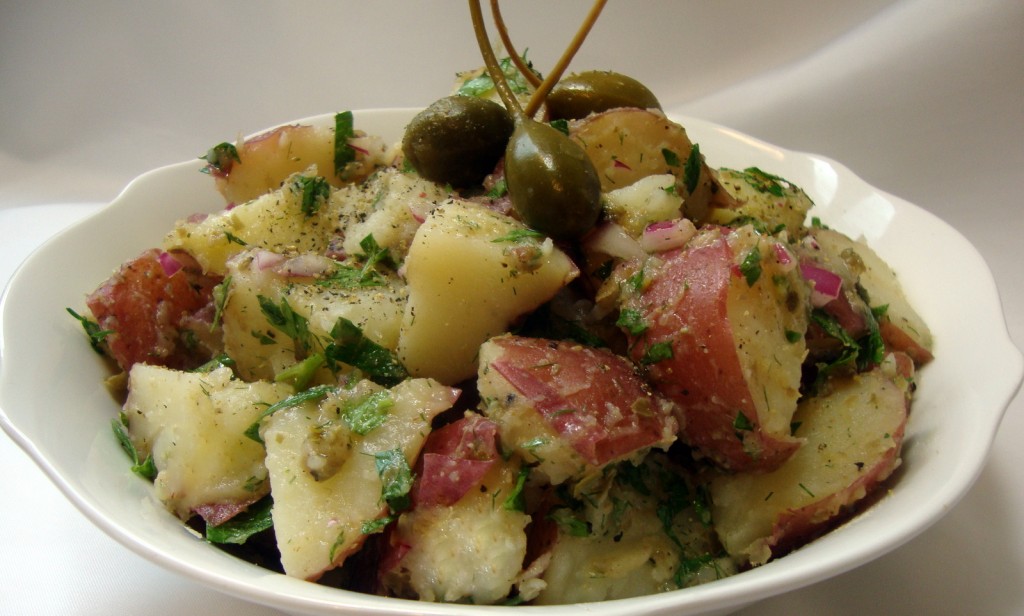
 Potato salads tossed with red wine vinaigrette are popular in Greece. The potatoes soak up the dressing and the salad is served warm or at room temperature. The addition of capers and lemon zest impart a citrusy, salty flavor.
Ingredients
• 1 and ½ lbs small red potatoes
• sea salt or kosher salt
• 2 T red wine vinegar
• 2 T extra-virgin olive oil
• 1 tsp ground coriander
• 1 tsp fresh lemon zest
• ½ tsp coarse ground black pepper, or more to taste
• ½ cup chopped fresh flat-leaf parsley
• 2 T finely minced shallot or red onion
• 1 T capers, drained and chopped (salt-packed capers should be rinsed and drained)
• 1 T chopped fresh dill
• caperberries for garnish (optional)
Preparation
Cut the smallest red potatoes in half and cut any larger potatoes into 1-inch chunks. Place the cut potatoes into a large cooking pot and add plenty of water to cover. Add 2 teaspoons salt and bring to a boil. Reduce the heat to a soft boil and cook the potatoes just until fork tender, about 10 to 15 minutes. Avoid overcooking. Drain thoroughly and set aside in a large mixing bowl.
In a non-reactive bowl, whisk together the vinegar, oil, coriander, lemon zest, black pepper and 1 teaspoon salt until emulsified. Pour over the potatoes in the mixing bowl. Sprinkle in the chopped parsley, shallot or onion, capers and dill. Toss thoroughly and set aside for 20 minutes for the potatoes to absorb the dressing; season with additional salt and pepper to taste. Serve warm or at room temperature and garnish with caperberries if desired.
Print Recipe
Greek Potato Salad
Votes: 0
Rating: 0
You:
Rate this recipe!
|
|
Votes: 0
Rating: 0
You:
Rate this recipe!
|
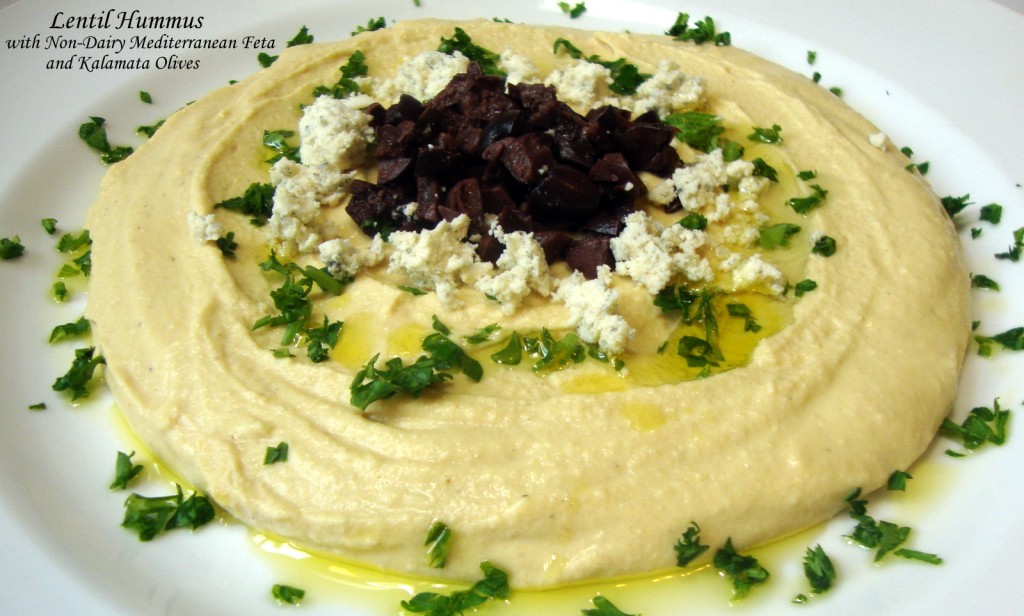 Hummus is a classic Middle Eastern dish and is excellent served as a dip or sandwich spread. This variation is made with cooked red or yellow lentils instead of the traditional chickpeas. It’s smooth, creamy and delicious! Sweating the garlic prior to blending mellows the garlic flavor. Serve with warm or toasted pita or other flatbread, and/or crunchy fresh vegetables. This recipe yields about 2 cups.
Ingredients
• 1 cup dry red or yellow lentils
• 1 T extra-virgin olive oil, plus additional for garnish
• 3 medium cloves garlic, chopped
• ¼ cup sesame tahini
• 1 T fresh lemon juice, or more to taste
• 1 tsp ground cumin
• ½ tsp ground coriander
• ½ tsp fine sea salt or kosher salt, or more to taste
• ¼ tsp ground white pepper
• water sufficient for processing
• 1 T chopped fresh parsley for garnish
• other garnish(es) of your choice*
*Other garnishes might include but are not limited to: Non-dairy feta (from the Non-Dairy Evolution Cookbook); sweet or smoked paprika; powdered sumac; roasted or sautéed minced garlic; chopped roasted red peppers; dairy-free pesto; toasted pine nuts; chopped cilantro or basil.
Preparation
Sort through the dry lentils and remove any foreign matter. Rinse the lentils thoroughly in a sieve, drain and add to a medium cooking pot. Add 4 cups water and 1 teaspoon sea salt or kosher salt and bring to a boil. Stir the lentils, partially cover the pot, reduce the heat to a simmer and cook for 20 minutes or until tender. Drain the cooked lentils thoroughly in the sieve.
While the cooked lentils are draining, add 1 tablespoon olive oil to a small skillet and place over medium-low to low heat. Sweat the garlic about 10 minutes to mellow and sweeten the flavor and remove the raw pungency. If you hear an audible “sizzle” from the oil, the heat is too high; turn it down slightly.
Place the drained lentils into a blender or food processor and add the sautéed garlic and remaining ingredients except for the parsley and other optional garnishes. Process until very smooth. Add water as needed to assist processing. The hummus should be creamy and smooth, not thick and pasty.
Taste and add salt or more lemon juice as desired (lemon juice plays a supporting role in flavor development but the hummus should not have an obvious lemon flavor). Transfer to a bowl, cover and refrigerate for a minimum of 30 minutes to thicken and blend the flavors before serving, or for up to 1 week. The hummus will thicken a little bit upon refrigeration; if it becomes too thick after chilling, simply incorporate a little water.
Drizzle with extra-virgin olive oil and garnish as desired before serving.
Print Recipe
Lentil Hummus
Votes: 1
Rating: 5
You:
Rate this recipe!
|
|
Votes: 1
Rating: 5
You:
Rate this recipe!
|
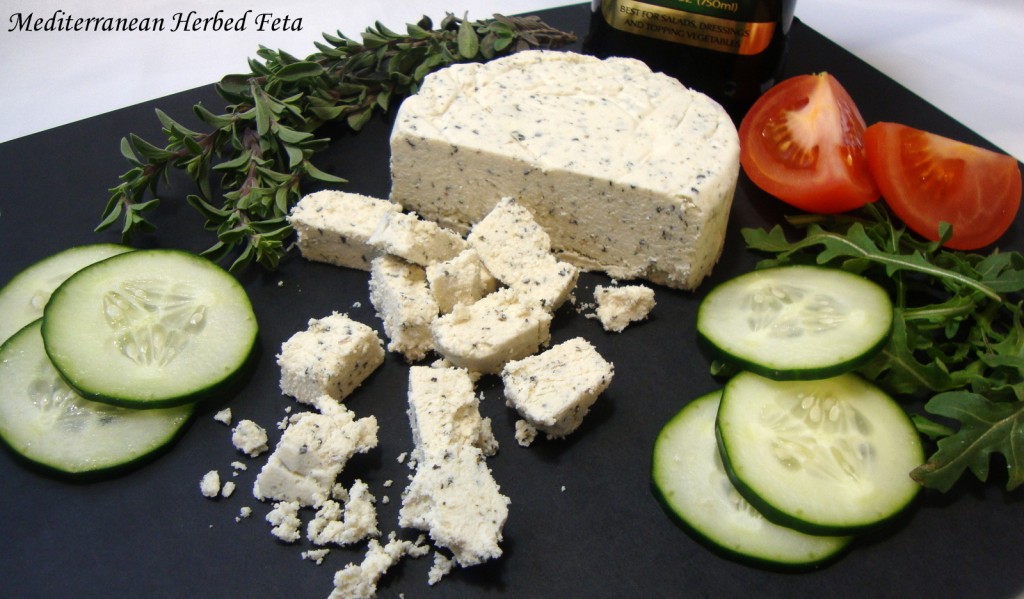 This tofu-based cheese is simple to make and is reminiscent of dairy feta cheese in both taste and texture. It has a very tangy, salty flavor and is wonderful for topping Mediterranean salads, pizza or for using in recipes such as Greek Spanakopita.
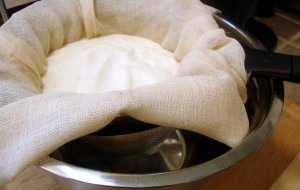
A food processor is recommended for efficient processing. You will also need a silicone, glass, ceramic, metal or BPA-free plastic container that will hold a minimum of 2 cups liquid to act as a form to shape the cheese. Line the form with plastic wrap, leaving plenty of excess hanging over the sides. This will help lift the cheese from the form after firming. This recipe yields about 8 ounces.
Ingredients
• ½ block (about 7 oz before pressing) extra-firm tofu (not silken tofu)
• ¼ cup refined coconut oil (not virgin)
• 1 tsp lactic acid powder (recommended and available from ModernistPantry.com) or 4 tsp fresh lemon juice
• 1 T white wine vinegar or raw apple cider vinegar
• 1 and ¼ tsp fine sea salt or kosher salt
• 1 tsp dried basil
• 1 tsp dried marjoram
• 1 tsp dried oregano
• ¼ tsp onion powder
Note: The basil, marjoram and oregano are optional; omit if plain feta is desired.
Preparation
Line the form with plastic wrap or a double-layer of cheesecloth, allowing some excess to hang over the sides. This will help lift the cheese from the container after firming.
Press the tofu until it is not releasing any more liquid. It is important that the tofu be as dry as possible. To do this easily and efficiently, wrap the tofu in a lint-free kitchen towel or several layers of paper towels and place on a flat work surface. Press down firmly with your hands while using your upper body weight. Crumble the tofu into a food processor and set aside.
Remove the lid from the coconut oil and place the jar or bottle into a microwave. Heat until melted (about 30 seconds to 1 minute depending upon the solidity of the coconut oil); avoid overheating the oil. Alternately, place the jar or bottle into a container filled with near boiling water and let stand until the oil melts. Measure ¼ cup and add to the food processor with the remaining ingredients. Process the contents until very smooth.
Transfer the cheese mixture to the lined form. Pack the mixture with the back of a spoon and smooth the surface as best you can. Cover with plastic wrap and refrigerate for a minimum of 8 hours. This will ensure that the coconut oil has completely solidified. Once firmed, lift the cheese from the container and crumble as needed.
When using as a topping for salads, toss the salad first with the dressing and then add the crumbles. Cubed feta is wonderful drizzled with olive oil and served with falafel and other Mediterranean favorites. Store in a zip-lock bag or wrapped tightly in plastic wrap in the refrigerator.
Print Recipe
Mediterranean Herbed Feta (From the Non-Dairy Evolution Cookbook)
Votes: 19
Rating: 4.37
You:
Rate this recipe!
|
|
Votes: 19
Rating: 4.37
You:
Rate this recipe!
|
This recipe produces a thick, creamy, tangy, plain Greek-style yogurt that requires no additional thickening agents such as food starches, gums, gels or pectin.
So why make your own yogurt? Because most commercial non-dairy yogurts have too much sugar and/or fruit added, too many thickening agents added and yet are still too runny to be useful for preparing yogurt-based cheeses or for condiments such as Greek Tzatziki and Indian Raita (which require a thick, unsweetened yogurt base). Of course, when not being used to make cheese or savory condiments, this yogurt can also be sweetened to your liking with organic sugar, natural syrups, fresh fruit or fruit preserves.
This yogurt is made with pure soymilk (soybeans and water with no additives). It may seem odd for a plain yogurt to include brown rice syrup in its preparation but there is a sound reason for this: Brown rice syrup is rich in dextrose, a natural sugar similar to glucose. It’s not used to sweeten the yogurt but rather to provide a food source for the yogurt culture (beneficial lacto-bacteria). Soymilk is too low in natural sugar to sufficiently provide this food source (some will argue that they make soy yogurt without adding a natural sugar food source but the results will not compare to yogurt prepared with this method).
As the soymilk cultures, the lactic bacteria consume the dextrose in the brown rice syrup and convert it to lactic acid. This gives the yogurt its familiar tanginess. Rest assured, you will not detect any sweetness in the finished yogurt. Brown rice syrup can be found in natural and health food stores and sometimes in the natural foods section of major supermarkets. If you cannot source it locally, it can be purchased through the internet.
You will need a commercial vegan yogurt starter to prepare your first batch (the yogurt can also be started using commercial plain soy yogurt with active cultures). Despite what the package directions may state, you will not need new sachets of starter to culture another batch of yogurt. As long as ¼ cup of yogurt is reserved from a previous batch, a new batch can be made successfully. I purchase my vegan yogurt starter from CulturesforHealth.com. It is very affordable and they ship quickly. Vegan yogurt starter is also available from BelleandBella.com. You may also be able to locate vegan yogurt starter elsewhere by doing a little internet searching.
For consistent results, I recommend using a commercial yogurt maker. Yogurt makers maintain the yogurt at a specific temperature for an extended period of time and are convenient and reasonably affordable. If your yogurt maker uses individual glass jars, set them aside. In this case, the yogurt needs to be cultured in a glass bowl that will fit inside the yogurt maker with the unit lid in place.
A commercial Greek-style yogurt strainer is a handy tool for straining yogurt but it is not required. The yogurt can easily be strained in a large sieve lined with fine muslin or a double layer of high-quality cheesecloth which has been placed over a large, deep bowl.
It is important to make sure all your containers and working tools are very clean before you begin so as not to contaminate the yogurt with undesirable bacteria or molds. This recipe yields about 3 cups or six ½-cup servings of plain Greek-style yogurt (be sure to reserve ¼ cup for starting your next batch!)
Ingredients
• 4 cups (1 qt) pure soymilk (soybeans and water with no additives)
• 2 T brown rice syrup
• ½ tsp fine sea salt or kosher salt
• 2 sachets (about ½ tsp each) vegan yogurt starter* – or ¼ cup soy milk yogurt (from a previous batch) – or ¼ cup commercial plain soy yogurt (with active cultures)
*Vegan yogurt culture starter is available by mail order from CulturesforHealth.com or BelleandBella.com.
Preparation
Pour the soymilk into a large saucepan and place over medium heat.
Add the salt and stir in the brown rice syrup. Cook the milk until steaming hot while stirring frequently. Simmering or boiling is unnecessary. Do not leave the saucepan unattended as the milk can boil over easily.
Remove the saucepan from the heat and allow cooling for 30 minutes. Stir occasionally while cooling to help the milk cool evenly and discourage a skin (yuba) from forming on the surface.
After 30 minutes of cooling, feel the bottom of the saucepan. If it is comfortably warm to the touch proceed to the next step; otherwise, let cool an additional 5 to 10 minutes and then test again. If desired, test the temperature of the mixture with an instant-read thermometer. It should not exceed 110°F/43°C (if the mixture is too hot, it will destroy the culture).
Whisk in the yogurt starter or yogurt until thoroughly blended. Pour the mixture into the yogurt maker. Put the unit lid in place and culture for 12 hours. No more; no less.
After culturing, refrigerate the yogurt in a covered container for a minimum of 8 hours or overnight. This will further develop the flavor and assist thickening.
Have a commercial Greek Yogurt strainer ready or line a large sieve with the muslin or double-layered cheesecloth and place over a large, deep bowl.
Pour the chilled yogurt into the strainer or sieve and allow draining for 2 hours at room temperature. Transfer it back to its storage container and refrigerate.
Consume or use the yogurt within 3 weeks (because yogurt is a cultured food, it may stay fresh longer, but 3 weeks is a rough guideline). Be sure to reserve ¼ cup for starting your next batch.
Chef’s note: Reserve the whey and chill in a sealed container if desired. I have discovered that the whey is a superb gluten-free alternative to rejuvelac for preparing the cultured cashew-based cheeses in my Non-Dairy Evolution Cookbook. The whey will stay fresh and active for about 5 days. Over time it will turn to vinegar and is no longer useable.
Print Recipe
Greek-Style Cultured Soy Yogurt
Votes: 51
Rating: 3.86
You:
Rate this recipe!
|
|
Votes: 51
Rating: 3.86
You:
Rate this recipe!
|
 Prosciutto crudo is an Italian dry-cured ham that is usually thinly sliced and served uncooked. My vegan version is made from rice paper (a blend of tapioca starch and rice flour). While this may seem odd, the rice paper offers the translucency and sheen of thinly sliced pork-based prosciutto. For this recipe, use square rice paper sheets if you can find them. Round sheets will work too but the square sheets will yield more uniform slices. My original recipe yields three 3”x9” strips of mock prosciutto crudo.
Ingredients
• 3 sheets rice paper (preferably square sheets)
• ¼ cup white shoyu (Japanese white soy sauce)
• ¼ cup water
• 2 tsp vegan Worcestershire sauce
• ¼ tsp beet powder
• olive oil
Preparation
Combine the white shoyu, water, Worcestershire sauce and beet powder in a cup and then pour into a large, shallow baking dish.
Stack the three sheets of rice paper together and then immerse in the marinade. Allow to soak until most of the marinade has been absorbed and the rice paper is moist and supple and nicely colored, about 10 minutes. The sheets will stick together – this is desirable. The three sheets of rice paper will yield one sheet of prosciutto.
Carefully transfer the mock prosciutto to a baker’s cooling rack to drain briefly. Transfer again to a work surface and slice into 3 strips. Rub the strips generously with olive oil to keep them moist and supple. The oil is essential and is not optional; without it the texture will be quite rubbery.
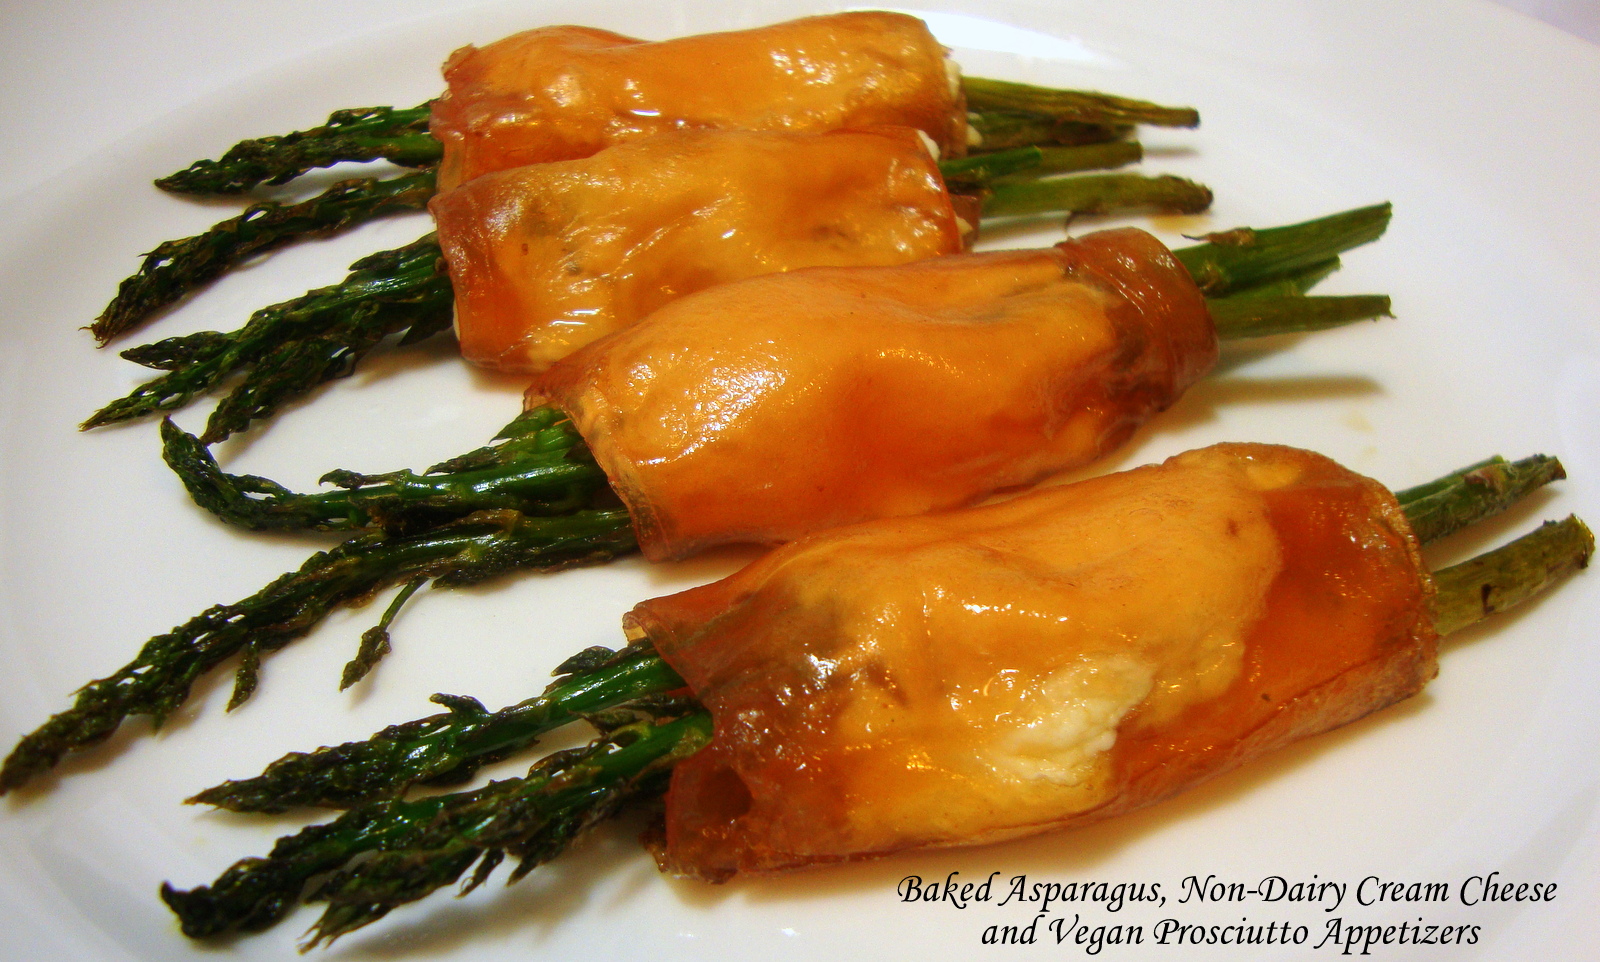
For the best texture experience, use the mock prosciutto immediately if possible. The strips can be stored in a food storage bag in the refrigerator if necessary but will acquire a chewier texture during storage. Use in your favorite recipe as desired. Mock prosciutto works well for baked appetizers too.
Print Recipe
Mock Prosciutto Crudo
Votes: 11115
Rating: 3.92
You:
Rate this recipe!
|
|
Votes: 11115
Rating: 3.92
You:
Rate this recipe!
|